
Architrave door trim hides the joint between a lining and the wall, but it also sets the visual width of every doorway. A neat result comes from matching the reveal, corners and floor line, not from using filler to disguise a frame that is out of square.
Take the casing off only where necessary and inspect the opening first. Note wall thickness, skirting returns, hinge side, sockets and the finished floor before selecting a profile and width. our internal door-frame guide
Choose profile and coverage
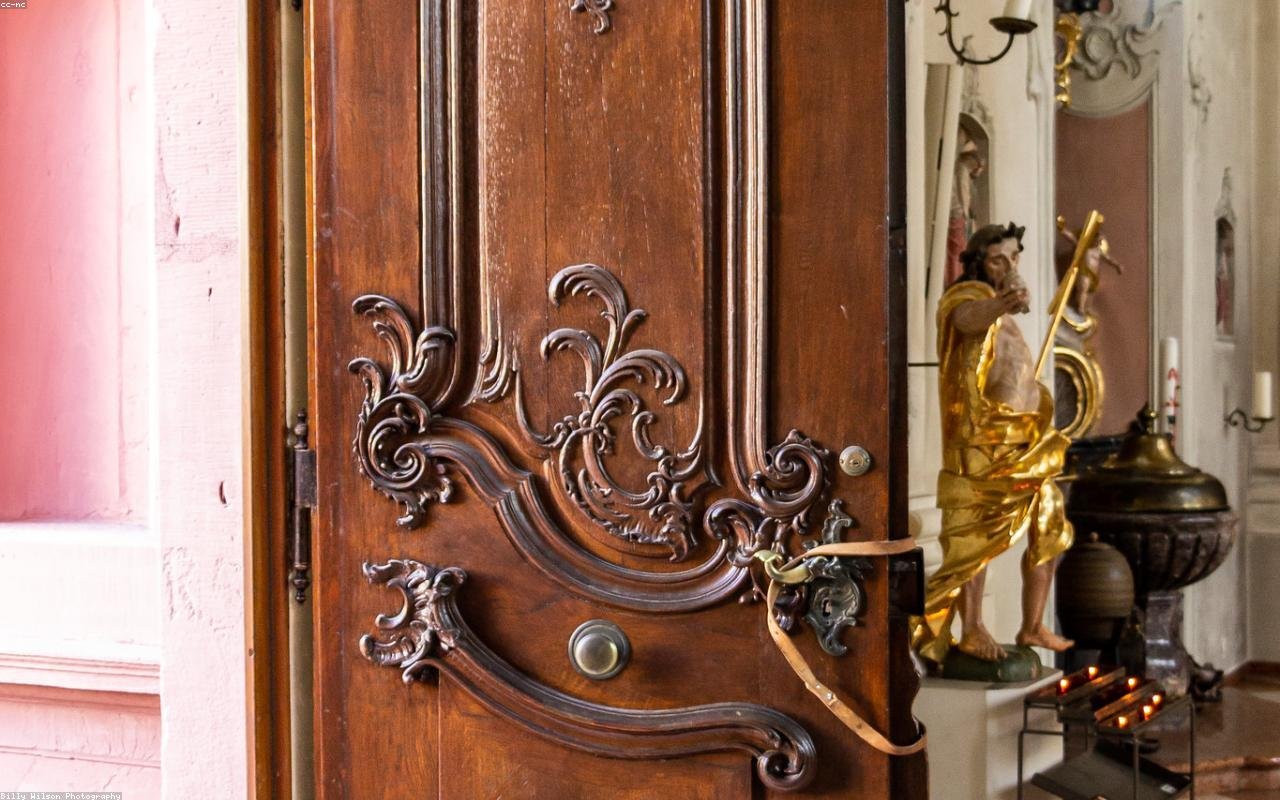
Square, chamfered, torus and ogee profiles create different shadow lines. Choose enough width to cover the joint consistently, but avoid a casing that crowds a narrow wall or collides with skirting and adjacent openings. pine trim preparation
Compare timber, MDF and finishing options
MDF is stable and paint-ready, timber offers repairable grain and moisture-sensitive locations need extra care. Our bullnose skirting-board guide is a useful comparison when the architrave needs to relate to a rounded lower trim. six-panel door style checks
Set out corners and reveals
Keep the reveal equal where the frame allows, scribe or mitre corners to suit the actual angle and position joins away from the most visible line. The top piece should meet the legs cleanly without forcing a wall bow into the trim.
Measure, position and prepare
Measure each leg, the head, returns, wall variation and floor level. Mark pipes and cables before fixing, and use the GOV.UK Approved Documents collection when the doorway forms part of a regulated fire or access route. GOV.UK Approved Documents
- Measure the opening and wall rather than copying old trim sizes.
- Dry-fit the head and legs before fixing.
- Keep the reveal and floor line visually consistent.
- Use fixings suited to masonry, plasterboard or timber.
- Protect or seal cut ends near floors and wet areas.
Use and maintain it well
Fill small nail holes, caulk the wall joint where appropriate and paint thin coats. Inspect the lower ends for mop water and seal or protect them before moisture enters the board.
Common mistakes to avoid
- Using one long trim piece without checking delivery and bow.
- Assuming every corner is square.
- Covering a damp wall-floor junction.
- Driving fixings where cables or pipes may run.
- Painting before filler and caulk have cured.
Prices are indicative and not financial advice.
Frequently Asked Questions
What should I decide first about architrave door trim?
Square, chamfered, torus and ogee profiles create different shadow lines. Choose enough width to cover the joint consistently, but avoid a casing that crowds a narrow wall or collides with skirting and adjacent openings.
Which architrave door trim options are worth comparing?
MDF is stable and paint-ready, timber offers repairable grain and moisture-sensitive locations need extra care. Our bullnose skirting-board guide is a useful comparison when the architrave needs to relate to a rounded lower trim.
How should I measure and prepare for architrave door trim?
Measure each leg, the head, returns, wall variation and floor level. Mark pipes and cables before fixing, and use the GOV.UK Approved Documents collection when the doorway forms part of a regulated fire or access route.
How can I keep architrave door trim working well?
Fill small nail holes, caulk the wall joint where appropriate and paint thin coats. Inspect the lower ends for mop water and seal or protect them before moisture enters the board.
Final Thoughts
Architrave looks simple because it is well set out. Match the profile to the room, measure each opening, respect the reveal and finish the lower ends as carefully as the visible face.