
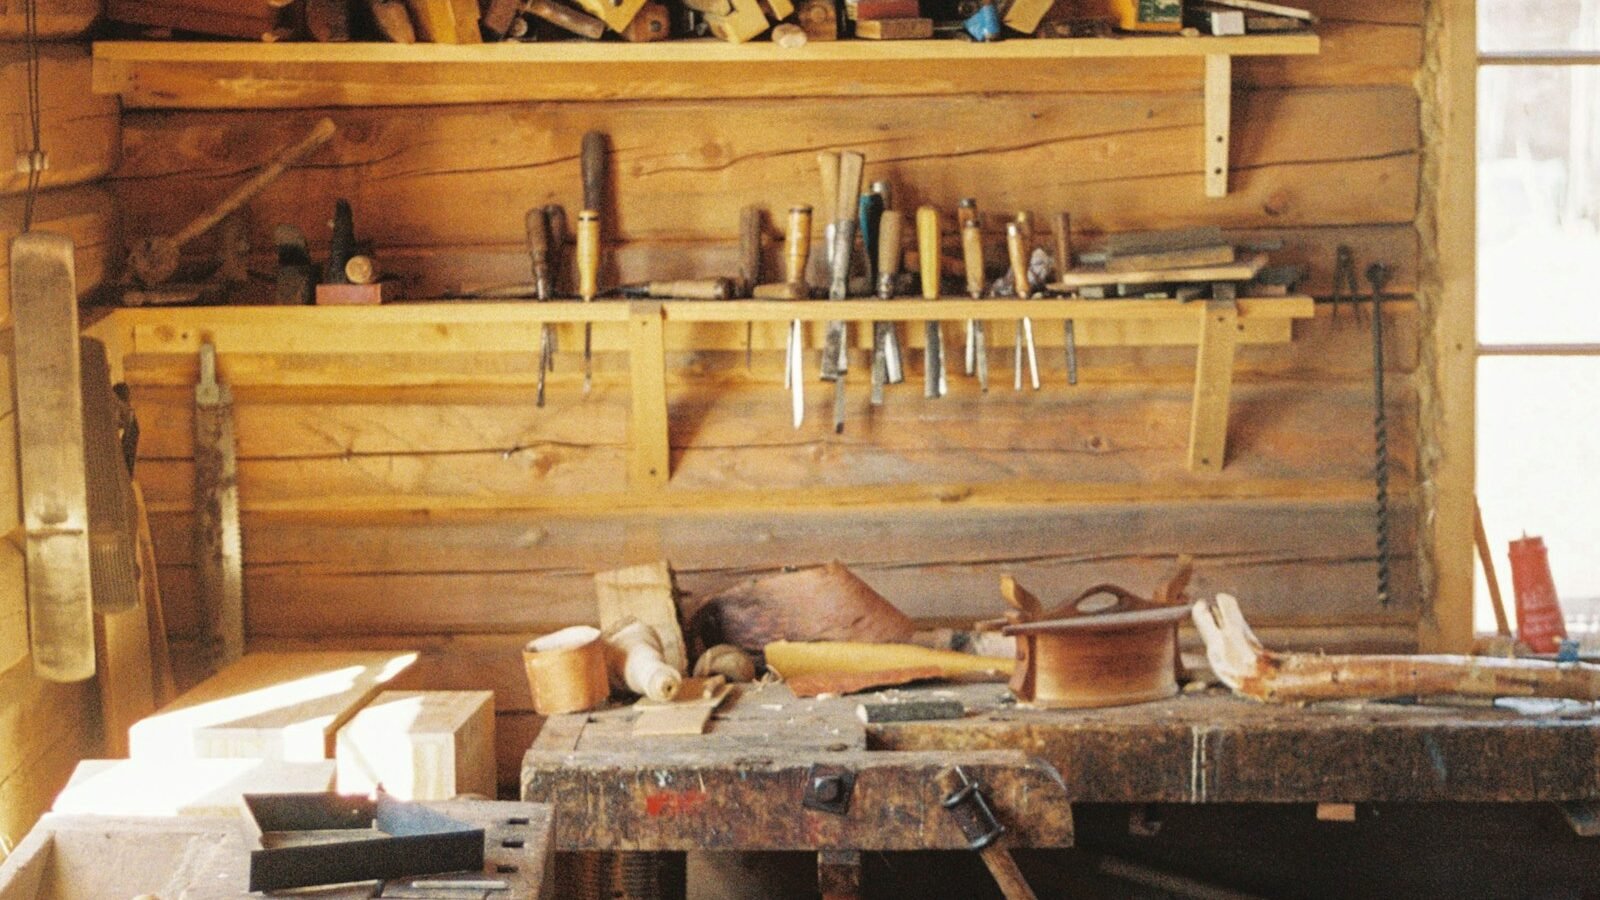
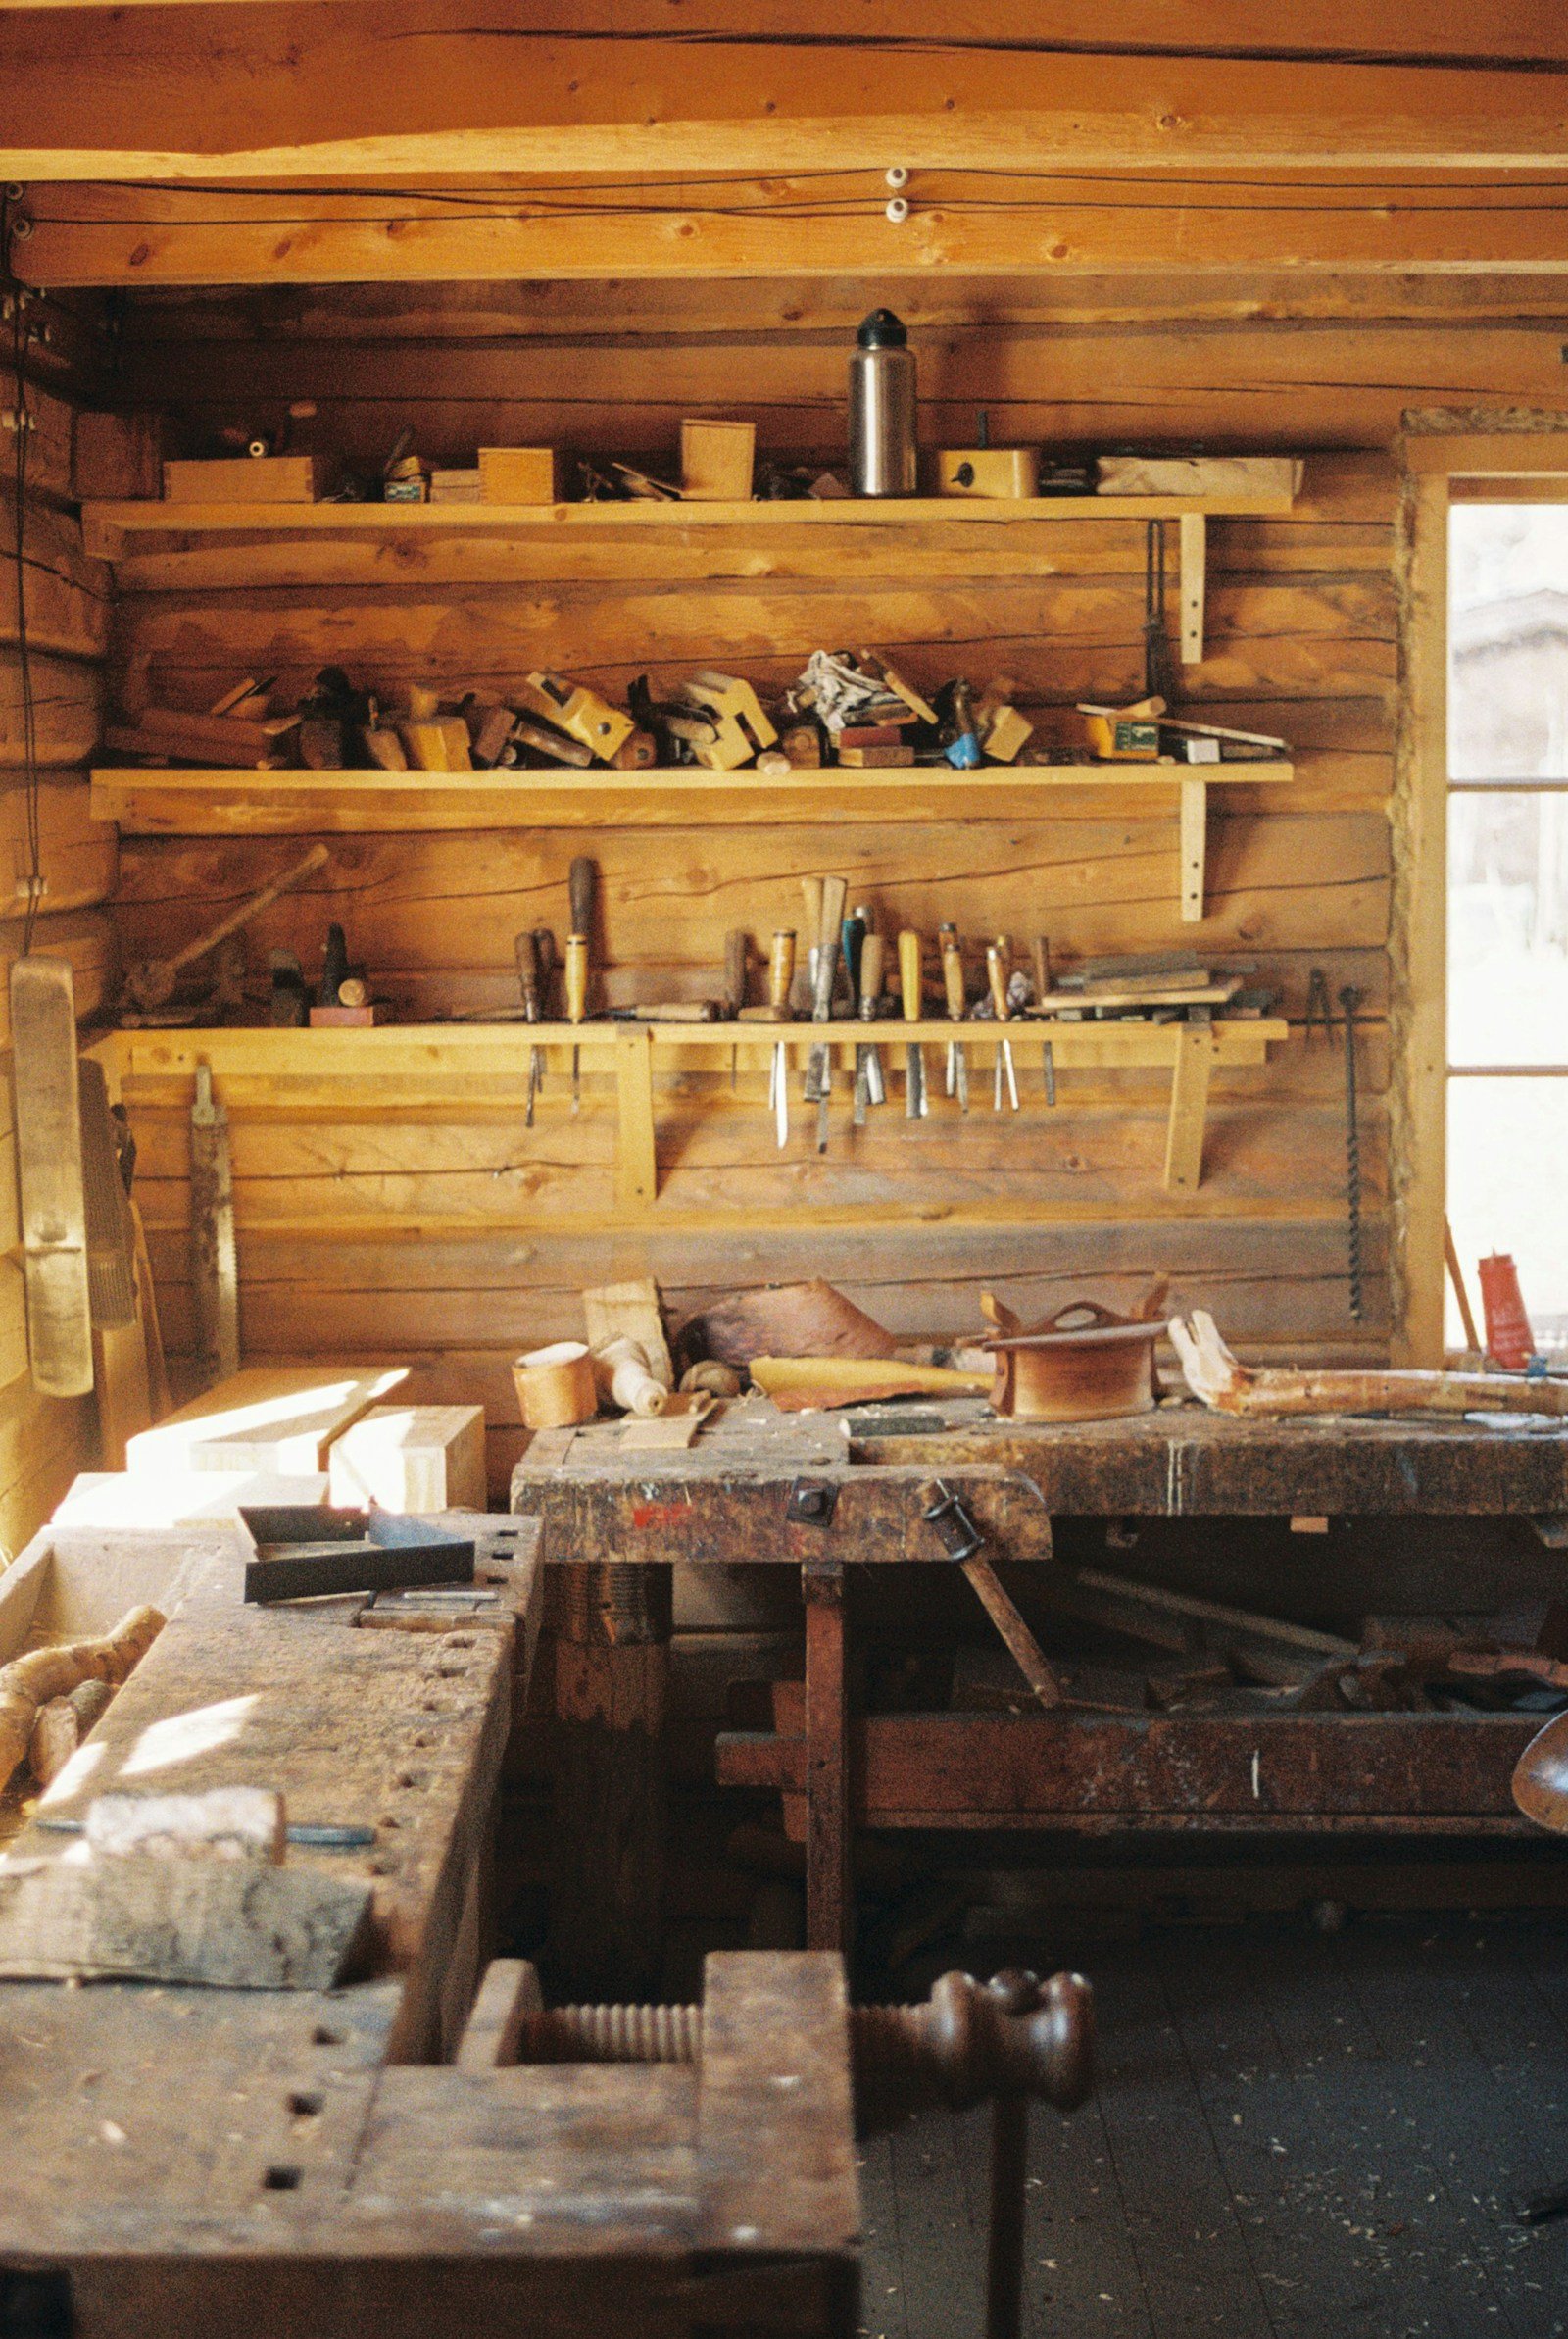
The most useful beginner woodworking tools are a flat work surface, accurate measuring, a sharp cutting tool, a drill, clamps and dust control; they do not require a £2,000 workshop. Buy tools around a first project, practise on cheap planed softwood and learn to make one accurate cut before adding a new machine.
Beginner woodworking tools: build a useful starter kit
- Measure and mark: a 5m tape, sharp pencil, combination square and marking knife, £20-£45 total.
- Cut: a 20-22in hardpoint hand saw, £12-£25, before considering a circular saw.
- Drill: a 12V or 18V drill-driver with a mixed bit set, roughly £70-£180.
- Hold: four 300mm or 600mm clamps, £25-£80; clamps are cheaper than repairing a sliding glue-up.
- Shape and smooth: sanding block, 80/120/180/240 grit paper and a small block plane, £20-£70.
- Protect: safety glasses, ear defenders and a suitable dust mask or extractor, £25-£100.
A sturdy table with a sacrificial board is a valid first bench. Add a pair of trestles and a 18mm plywood top for about £50-£120 if you need portability. Our home-repairs guide covers the overlapping hand tools that earn their place in a house.

Choose beginner-friendly wood
Planed softwood pine is affordable, available from builders’ merchants and forgiving for shelves and boxes. Buy straight, dry lengths and let them acclimatise indoors for a few days. Plywood is stable and excellent for carcasses; birch ply is attractive but dearer, while construction ply can have voids and rough faces.
MDF cuts and paints smoothly but is heavy and produces fine dust. Wear suitable respiratory protection and extract dust at the source. Avoid reclaimed timber until you can identify nails, treatment and moisture; a hidden screw can ruin a blade and a damp board can move after assembly.
Set up safely
Clamp work before cutting, keep both hands clear of a blade’s path and let a power tool reach speed before the cut. Unplug before changing a blade or bit. Keep the work area lit, ventilated and free of trailing leads. The HSE woodworking guidance explains why guarding, extraction and training matter; the COSHH guidance is relevant to wood dust, finishes and adhesives.
Three projects that teach the basics
Project 1: a wall shelf
Cut a 600mm shelf, two 250mm supports and a back rail from 18mm pine or plywood. Mark a square line, cut just outside it and sand to the final line. Dry-assemble, pre-drill screw holes and use glue sparingly. This teaches measuring, drilling, clamping and finding wall studs. Use appropriate wall fixings for the final load; a shelf is only as strong as its bracket and wall.
Project 2: a planter box
Make a 500mm x 250mm box from treated or naturally durable timber, with a removable or drilled base for drainage. Countersink exterior screws, line only if the liner cannot trap water and raise the box on feet. It is a forgiving project for learning consistent screw spacing and outdoor finishing. Our garden furniture guide explains how outdoor timber behaves in the same weather.
Project 3: a simple tray
Glue two side rails to a plywood base, clamp on a flat surface and add handles only after the glue has cured. A tray rewards square assembly and clean sanding without requiring complex joinery. Check that the handles are rated for the intended load.
Sand and finish without guesswork
Start at 80 or 120 grit only when there are saw marks, then move through 180 to 240 grit. Sand with the grain and remove dust between coats. Water-based varnish dries quickly and keeps pale pine light; hardwax oil feels natural but needs careful application; paint hides mismatched timber but still needs a smooth surface and primer.
Test the complete finish on an offcut. Follow the tin’s drying time and ventilation instructions, and keep oily rags flat to dry or submerged as the product directs. Never mix finishes just because both cans say clear.
What to buy next
After two or three projects, add the tool that removes a repeated bottleneck: a track saw for accurate sheet cuts, a router for edges, a random-orbit sander for larger surfaces or a better square. A mitre saw is useful but not a substitute for measuring and can take up more space than expected.
Frequently asked questions
Q1. What woodworking tools should a beginner buy first?
Start with accurate marking tools, a hand saw, drill-driver, clamps, sanding supplies, a stable bench and safety equipment. Add machines only when a project exposes a real need.
Q2. Is pine good for a first woodworking project?
Yes. Straight, dry planed pine is inexpensive and easy to cut, drill and paint. Allow it to acclimatise and expect some knots and movement.
Q3. Is MDF safe to work with?
It can be used safely with dust extraction, ventilation and suitable respiratory protection. The fine dust is the concern, not simply the board being labelled MDF.
Q4. What is the easiest woodworking project?
A small tray, wall shelf or planter box teaches measuring, square assembly, drilling, sanding and finishing without requiring complicated joinery.
Final Thoughts
Woodworking gets easier when accuracy becomes a habit: mark from one reference edge, cut on the waste side, dry-fit before gluing and stop to correct a mistake while it is still small. A careful £100 setup can teach more than a workshop full of untouched tools.


1 thought on “Beginner Woodworking Tools and Projects: A UK Starter Setup”