
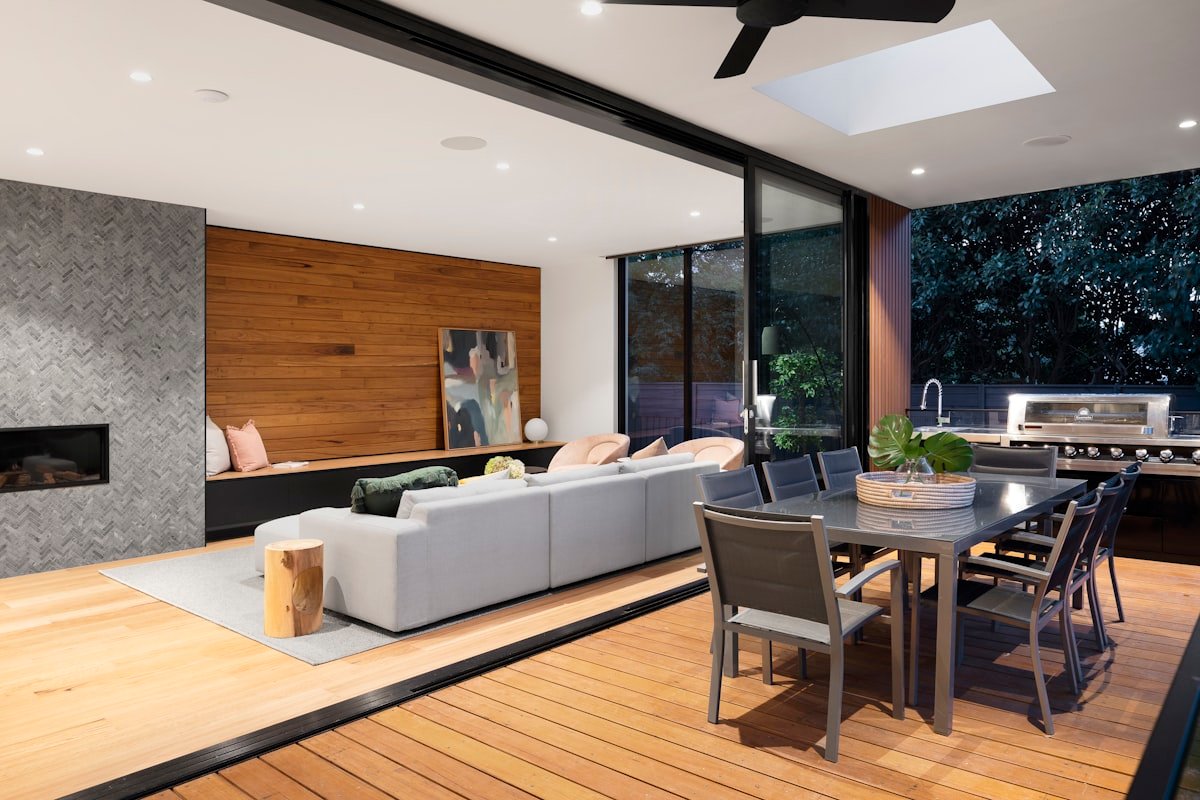
Floating shelves are one of the highest-impact, lowest-cost improvements you can make to a UK home. A single 120cm shelf in a living room or above a desk can add usable storage and visual interest for under £40, and a full set of three shelves can be fitted in an afternoon with a spirit level, a drill, and a handful of fixings. The catch is that British walls are not all the same: a 1930s semi has solid brick, a 1970s terrace has dot-and-dab plasterboard, and a new-build has Celotex-insulated plasterboard that will not hold a standard fixing. Get the wall type wrong and the shelf comes down. Get it right and it will hold 25kg+ for decades. This guide is a UK-specific, step-by-step walkthrough of how to install floating shelves on every common UK wall type, with the right tools, the right fixings, and the mistakes that catch out most first-time DIYers.
Table of contents
- What are floating shelves?
- Tools and materials you will need
- Types of floating shelf
- UK wall types and how to identify yours
- Choosing the right fixings
- Finding the wall studs
- Step-by-step installation
- Common mistakes to avoid
- How to style floating shelves
- Floating shelf FAQs
- Final thoughts
What are floating shelves?
A floating shelf is a shelf that appears to have no visible bracket or support. In practice, it is fixed to the wall with one of three hidden systems: a concealed bracket (a steel rod that slots into a hole drilled into the wall), a concealed cleat (a metal bar screwed to the wall that the shelf hooks onto), or a hidden batten (a wooden baton fixed to the wall that the shelf sits on and is screwed into from above).
The right system depends on the weight you want to carry and the wall you are fixing to. A 30cm oak shelf with three concealed brackets will hold 15kg on a solid brick wall but only 5kg on dot-and-dab plasterboard with the wrong wall plug. The rest of this guide covers how to choose the right combination.
Tools and materials you will need
For a typical floating shelf install in a UK home, you will need the following.
- Drill. A cordless combi drill from Screwfix, Toolstation or Bosch. A 18V combi drill with hammer action is enough for any UK wall.
- Drill bits. A masonry bit set (5mm, 6mm, 8mm, 10mm) for brick or block. A wood bit set (6mm, 8mm) for timber stud. A tile bit if you are drilling through ceramic or porcelain.
- Spirit level. A 600mm or 1200mm spirit level. A laser level is easier for multi-shelf runs.
- Stud detector. A magnetic or electronic stud finder, essential for plasterboard walls.
- Tape measure, pencil, and a wall marking tool. A simple set will do.
- Wall fixings. See the fixings section below.
- Shelf. See the types section below.
- Safety gear. Safety glasses, dust mask, ear defenders. PPE regulations for DIY drilling in the UK are covered in the HSE guidance for construction work.
Types of floating shelf
Floating shelves come in four broad types, each with a different look, weight capacity, and price point.
Solid wood floating shelves
Solid oak, walnut, or pine shelves from Oak Furniture UK, IKEA or a local timber merchant. Heavy, premium, and they age beautifully. A 60cm solid oak shelf weighs 4kg to 6kg, so the fixings need to be strong. Prices start at £30 for a small pine shelf and rise to £200+ for a 120cm oak shelf.
MDF floating shelves
Lightweight, paintable, and the cheapest option. Available from B&Q, Wickes and Homebase. MDF is fine for a painted finish, but it sags under heavy loads and does not like damp, so avoid it in bathrooms and kitchens. £10 to £40 for a 60cm shelf.
Metal floating shelves
Brushed steel, black powder-coated steel, or brass shelves for an industrial or modern look. Often paired with a wood top. Heavier than MDF, lighter than solid oak. Available from Sophie Conran, The Range and various online retailers. £25 to £80 for a 60cm shelf.
Glass floating shelves
Toughened glass shelves with concealed brackets. Modern and light, but limited in weight capacity and difficult to install well on uneven walls. Best in bathrooms and bedrooms where the load is light. £15 to £50 for a 50cm shelf.
UK wall types and how to identify yours
The single most important decision in a floating shelf install is matching the fixing to the wall. UK homes have four common wall types.
Solid brick (pre-1950s homes)
Common in Victorian and Edwardian terraces. A solid brick wall, often with lime plaster. Easy to identify: tap the wall and it sounds solid, drill a 6mm test hole and you will hit brick within 2cm. The best wall for floating shelves: a plastic wall plug and a 6mm screw will hold 20kg+ in solid brick.
Solid concrete (1950s to 1970s)
Common in post-war semis and many 1960s flats. Tap the wall, it sounds solid, drill a 6mm test hole and you will hit dense concrete within 2cm. Excellent for floating shelves. Use a hammer-action drill and a masonry bit.
Plasterboard on stud (1970s to 2000s)
Common in 1970s and 1980s homes, and in many newer timber-frame houses. A timber frame with plasterboard screwed on. Easy to identify: tap the wall, it sounds hollow, drill a 6mm test hole and you will hit nothing but plasterboard. The wall has vertical timber studs at 400mm or 600mm centres, which is where the strength is.
Dot and dab (1990s to present)
Common in 1990s, 2000s, and 2010s homes. Plasterboard glued to a solid brick or block wall with dabs of adhesive. Easy to identify: tap the wall, it sounds mostly hollow with a few solid spots. Drill a 6mm test hole and you will go through 25mm of plasterboard and then hit brick or block. The gap between the plasterboard and the wall is the enemy of floating shelves: a standard wall plug collapses into the gap.
Insulated plasterboard (2015 to present)
Common in new-build homes. Plasterboard backed with a layer of Celotex or Kingspan insulation, then a timber or steel frame. Drill a 6mm test hole and you will go through 50mm to 100mm of plasterboard and insulation before hitting the frame. The strongest fixing in this wall is a specialist insulated plasterboard fixing such as the Fischer DuoPower or the Rawlplug R-DH.
Choosing the right fixings
Once you know your wall type, the right fixing is straightforward.
- Solid brick or concrete: A 6mm or 8mm plastic wall plug and a matching wood screw. From Screwfix or Toolstation, 100 plugs for under £5. Hold 20kg+ per fixing in solid brick.
- Plasterboard on stud: Fix into the timber stud, not the plasterboard. Use a 6mm wood screw directly into the stud. Hold 30kg+ per fixing. If you cannot hit a stud, use a specialist plasterboard fixing: the Fischer DuoPower, the Rawlplug Universal, or a self-drilling plasterboard anchor such as the Screwfix Zinc Plated Drywall Anchor. Holds 5kg to 15kg per fixing depending on the type.
- Dot and dab: The hardest wall. The right fixing is one of three options: a specialist dot-and-dab fixing that bridges the gap (the Fischer DuoPower 8×40 or the Rawlplug R-DH 8×60), a toggle bolt that grips behind the brick (the Screwfix Spring Toggle), or cut out the plasterboard, fit a timber noggin, and fix the shelf into the noggin.
- Insulated plasterboard: A specialist insulated plasterboard fixing: the Fischer DuoPower 10×50 or the Rawlplug R-TFIX-8S. Holds 6kg to 12kg per fixing.
For the heaviest loads (a 120cm oak shelf with books), the right answer is always to fix into a stud or to use a chemical resin fixing. Rawlplug R-KEM chemical resin will hold 100kg+ in a single fixing in solid brick. The chemical resin bonds to the brick and creates a fixing point that is effectively part of the wall.
Finding the wall studs
For plasterboard walls, the strongest fixing is into a stud. UK timber studs are typically 38mm x 63mm or 38mm x 89mm softwood, spaced at 400mm or 600mm centres, and located by either a stud detector or a strong magnet (the screws or nails in the stud will attract the magnet).
To find a stud, run a stud detector horizontally across the wall at the height of the shelf. The detector will beep when it passes over a stud. Mark the stud with a pencil. Repeat to find the next stud 400mm or 600mm to the left or right. The shelf should be fixed to at least one stud, ideally two.
If you cannot find a stud, or the studs do not line up with the shelf, use a specialist plasterboard fixing (see above). The Fischer DuoPower 8×40 will hold 15kg+ in standard 12.5mm plasterboard, which is enough for most shelves.
Step-by-step installation
Once you have the right fixings, installing a floating shelf takes about 30 minutes per shelf. The process is the same regardless of wall type, with one difference: the fixing.
Step 1: Mark the position
Hold the shelf against the wall at the desired height. Use a spirit level to make sure it is horizontal. Mark the left and right ends of the shelf with a pencil. Then mark the position of each bracket or fixing point (usually three or four points along the shelf).
Step 2: Check for pipes and cables
Before you drill, check the wall for hidden pipes and cables. The NICEIC recommends using a cable detector, available from Screwfix for £15 to £40. Live cables in a UK wall are typically 50mm to 80mm below the surface, vertically from sockets and switches, and horizontally at ceiling and floor level. Hitting a cable is dangerous and can be expensive to repair.
Step 3: Drill the holes
Drill each hole to the depth and diameter recommended by the fixing manufacturer. For a 6mm wall plug in solid brick, drill a 6mm hole 35mm deep. Use a depth stop on the drill bit or mark the bit with tape.
Step 4: Insert the fixings
Push the wall plug into the hole until it is flush with the wall. For a dot-and-dab wall, use a specialist fixing as above. For a plasterboard wall with no stud, use a self-drilling plasterboard anchor.
Step 5: Fix the bracket or cleat
Screw the bracket or cleat to the wall using a spirit level to make sure it is horizontal. Tighten the screws firmly but do not over-tighten: over-tightening a wall plug in solid brick can crack the brick and reduce the holding power.
Step 6: Mount the shelf
Slide the shelf onto the bracket or cleat. For a concealed bracket system, the shelf will have pre-drilled holes on the back that slot over the brackets. For a cleat system, the shelf hooks onto the cleat and is fixed from above with a small screw through the top of the shelf into the cleat.
Step 7: Test the shelf
Before you load the shelf, give it a firm tug to make sure it is secure. Then load it gradually, starting with a few light items and increasing the weight. If the shelf moves or the fixings creak, unload it and re-fix with a stronger fixing.
Common mistakes to avoid
- Not identifying the wall type. The single biggest cause of failed shelf installations is fitting a plasterboard fixing into a dot-and-dab wall. Always drill a test hole first.
- Drilling too close to a socket or switch. Live cables run vertically from sockets and switches. Stay at least 150mm to the side of any socket or switch.
- Over-tightening the screws. Over-tightening can crack the wall plug, strip the screw, or crack the brick. Tight, but not gorilla-tight.
- Using the wrong drill bit. A wood bit in masonry will overheat and snap in seconds. Use a masonry bit for brick, block, and concrete.
- Not using a spirit level. A shelf that is 2mm out looks obviously wonky in a finished room. Use a spirit level, or a laser level for a long run of shelves.
- Overloading the shelf. Most floating shelves are rated for 5kg to 25kg distributed load. Books are heavy. A 60cm shelf full of hardbacks weighs 15kg to 20kg.
How to style floating shelves
The shelf is fitted. Now the fun part. A few rules of thumb.
- Rule of three. Arrange objects in odd numbers, especially threes. Three vases, three books, three plants.
- Vary the height. A short object, a medium object, a tall object. A flat object, a curved object, a soft object.
- Leave breathing room. A shelf packed to the edges looks cluttered. Leave 30 per cent of the shelf empty.
- Mix materials. Wood, ceramic, glass, metal, plants. Five materials is the right number for a styled shelf.
- Anchor with one large object. One large object on the shelf, off-centre, gives the eye a place to rest.
For more on styling shelves, see our guide to Japandi interior design ideas for UK homes and our guide to quiet luxury interior design.
Frequently Asked Questions
1. How much weight can a floating shelf hold?
It depends on the wall type and the fixing. A 60cm solid oak shelf with three concealed brackets, fixed into a solid brick wall, will hold 25kg to 30kg. The same shelf on dot-and-dab plasterboard with standard wall plugs will hold 5kg. The strongest UK fixing is chemical resin into solid brick, which holds 100kg+ per fixing.
2. Can I install a floating shelf on plasterboard?
Yes, but only with the right fixing. Standard wall plugs will not hold in plasterboard. The right fixing is either a self-drilling plasterboard anchor (5kg to 10kg per fixing), a specialist plasterboard plug such as the Fischer DuoPower (10kg to 15kg), or a fix directly into the timber stud (30kg+).
3. How do I find a stud in a UK plasterboard wall?
Use a stud detector, available from Screwfix for £10 to £30. Run it horizontally across the wall at shelf height. The detector will beep when it passes over a stud. UK timber studs are typically at 400mm or 600mm centres. You can also use a strong magnet, which will detect the screws or nails in the stud.
4. Can I install a floating shelf on a dot-and-dab wall?
Yes, with the right fixing. Standard wall plugs will collapse into the cavity between the plasterboard and the brick. The right fixing is a specialist dot-and-dab fixing that bridges the cavity, such as the Fischer DuoPower 8×40 or the Rawlplug R-DH 8×60. For heavy loads, use a toggle bolt or a chemical resin fixing.
5. How do I install a floating shelf on a tiled wall?
Use a tile drill bit (a spear-point or diamond-tipped bit from Screwfix) to drill through the tile without cracking it. Apply gentle pressure and run the drill at low speed. Once through the tile, switch to a masonry bit to drill into the brick or block behind. Use a plastic wall plug and a stainless steel screw to avoid rust.
6. What is the best floating shelf for a bathroom?
A stainless steel or aluminium shelf, or a solid wood shelf sealed with a marine-grade varnish. Avoid MDF, which absorbs moisture. The IKEA ENUDDEN and KOLBJORN ranges are popular for UK bathrooms. Fix into a stud or use a specialist damp-room fixing.
Final thoughts on installing floating shelves
Floating shelves are one of the highest-value DIY projects in a UK home. A single shelf takes 30 minutes to fit, costs under £40 in materials, and adds usable storage and visual interest to a room for 20+ years. The single most important decision is matching the fixing to the wall: a solid brick wall will hold 25kg, a plasterboard wall will hold 5kg, and a dot-and-dab wall will hold nothing without the right fixing. Identify the wall, choose the fixing, drill carefully, and the shelf will outlast the room.
For more on storage, layout, and styling, see our guides to home office furniture, oak furniture buying guide, and wall panelling ideas for UK homes.

1 thought on “How to Install Floating Shelves: A Step-by-Step UK Guide”