
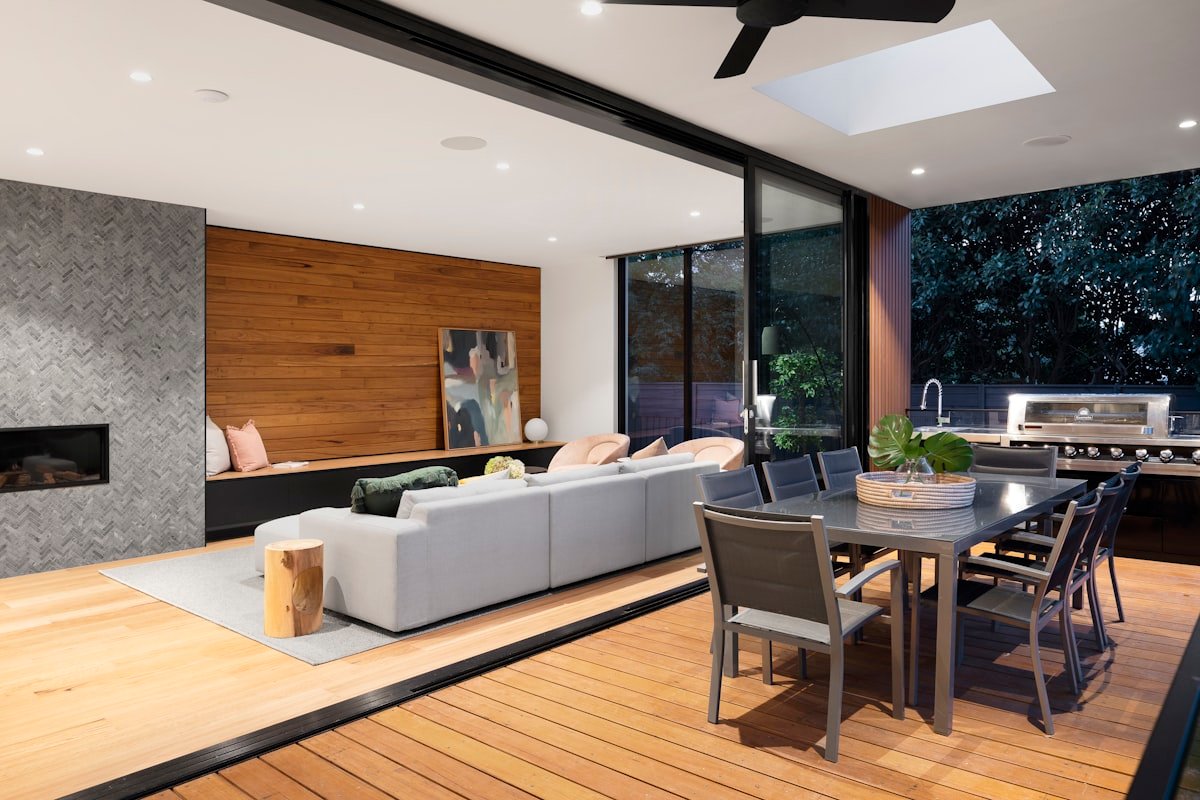
The safest way to install floating shelves in a UK home is to identify the wall first, choose fixings for that wall and keep the shelf load within the fixing manufacturer’s rating. On solid brick, a concealed bracket with suitable masonry anchors is straightforward. On plasterboard, the strongest result comes from fixing into studs or installing a timber batten; a hollow-wall plug alone is not a substitute for a structural fixing when the shelf will carry books or crockery.
Table of contents
- What a floating shelf is really fixed to
- Identify the UK wall type
- Choose the shelf and bracket
- Tools, fixings and safety checks
- Installation: a reliable step-by-step method
- Tiles, dot-and-dab and awkward walls
- Load planning and a simple safety test
- Spacing and styling without overloading the wall
- DIY and professional costs
- Floating shelf FAQs
- Final thoughts
What a floating shelf is really fixed to
A floating shelf hides its support inside the shelf, but it still needs a solid load path back to the wall. Most systems use a steel backplate with rods, a concealed metal cleat or a timber batten. The shelf may look the same from the front, yet the installation method can change its safe load from a few kilograms to several times that amount.
Check three ratings before you buy: the shelf’s own capacity, the bracket capacity and the wall-fixing capacity. The weakest of the three is the practical limit. A 900mm solid-oak shelf full of hardback books may be too heavy for a decorative MDF shelf kit even when the masonry anchors are excellent.
Identify the UK wall type
| Wall | How it feels | Reliable support | Common mistake |
|---|---|---|---|
| Solid brick or block | Hard resistance after plaster | Masonry plug or chemical anchor sized to the load | Drilling the mortar joint or using a short plug |
| Plasterboard on timber stud | Hollow sound between studs | Screws into studs; add noggins for a planned shelf | Assuming any point behind the board is supported |
| Dot-and-dab | Plasterboard sits off masonry with voids | Long fixings into the masonry behind, or a designed cavity fixing | Using a standard plasterboard plug in the void |
| Insulated plasterboard | Board may sound hollow and feel springy | Specialist fixing or a support batten designed for the build-up | Compressing the insulation and loosening the board |
A stud finder helps, but confirm with a small pilot hole and the construction pattern. In many UK stud partitions, centres are around 400mm or 600mm, but extensions, service walls and previous alterations vary. On solid walls, a masonry bit should produce dust and steady resistance; stop if the bit suddenly passes into a large cavity.
Choose the shelf and bracket
Solid timber gives the best edge and screw-holding strength, but it is heavy. Veneered plywood is stable and strong. MDF is easy to paint and suits decorative loads, but it needs a bracket system rated for the shelf depth. Glass needs a purpose-made support and is usually a poor choice for a first DIY installation.
For a 200-250mm deep shelf, use at least two support points and follow the bracket maker’s spacing. A long 900-1200mm shelf carrying books is better with three supports or a continuous cleat. Keep the shelf depth modest above a bed, desk or sofa so objects cannot fall onto people.
Tools, fixings and safety checks
- Stud and cable detector, pencil, tape measure and a 600mm spirit level.
- Drill or combi drill with the correct masonry or HSS bit; use a hammer setting only where the wall and fixing allow it.
- Manufacturer-specified screws, plugs, washers and any shelf set screws.
- Dust protection, eye protection and a stable platform. Do not balance on a chair.
Check for cables and pipes before drilling. Electrical Safety First warns against drilling directly above or below sockets and switches, where cable routes are often predictable. If the detector gives an uncertain reading, stop and investigate. The HSE ladder and stepladder guidance is worth following for high shelves.
Installation: a reliable step-by-step method
1. Plan the position
Mark the shelf’s top edge and check it from standing and seated positions. Leave around 250-350mm between shelves for books and 450-600mm above a desk or worktop, depending on the objects below. Use painter’s tape to mark the footprint before committing to holes.
2. Find the support points
Locate studs where relevant and transfer their positions to the bracket. On masonry, choose holes away from damaged bricks and mortar. A bracket that lands on two good supports is preferable to one with many questionable holes.
3. Check for services
Scan the full drilling area, not only the first hole. Never drill in line with a socket or switch without confirming the route. Turn off power to the relevant circuit if a detector or local procedure requires it, but remember that a dead cable can still be physically damaged by a drill.
4. Mark and drill accurately
Hold the backplate or cleat level, mark through every intended hole and drill to the depth specified by the fixing. Tape around the bit as a simple depth marker. Keep the drill square to the wall; an angled anchor can pull the shelf downwards.
5. Insert the correct anchors
For brick, clean dust from the hole and use a suitable plug or anchor. For a stud, drive the screw into the centre of the timber. For dot-and-dab, use a long fixing that reaches the masonry behind or a tested fixing designed for the cavity. Rawlplug and Fischer both publish load and installation information for their systems; read the exact product sheet rather than relying on a generic plug name.
6. Fix the support and re-check level
Snug the screws progressively and check level in both directions. Do not pull a bent bracket flat by overtightening; correct the support or the wall instead. On a long shelf, check that the centre has not dipped before the shelf goes on.
7. Slide on, secure and test
Slide the shelf fully home, tighten its underside set screws if supplied and check that no part of the bracket is forcing the shelf away from the wall. Load it gradually, starting with light objects near the supports. Leave it for a few hours and inspect for movement before adding heavier items.
Tiles, dot-and-dab and awkward walls
For tiles, use a tile bit without hammer action until you are through the tile, then change to the correct bit for the wall. Put masking tape over the mark to reduce skating and support the tile while drilling. Avoid fixing where a cracked tile or hollow spot indicates poor adhesion.
Dot-and-dab is the wall type most likely to be installed incorrectly. A short plug can expand only in the plasterboard and leave the shelf rocking against the void. Use a long frame fixing into the masonry, a metal cavity fixing rated for the shelf load or a timber support fixed across more than one solid point. If the shelf is wide, heavy or above a child’s bed, have the support designed by a competent installer.
Bathrooms and utility rooms need moisture-resistant materials and ventilation. A painted MDF shelf can swell at an unsealed cut edge. Use sealed timber or a suitable board, keep it away from direct spray and never treat a bathroom shelf as a place for a heavy appliance.
Load planning and a simple safety test
Estimate the load before you choose the shelf. A paperback book is roughly 0.3kg, a hardback around 0.8-1.2kg and a dinner plate about 0.7kg. Twelve hardbacks can therefore put 10kg or more on a shelf before the weight of the shelf itself is counted. Keep that load close to the wall and distribute it across the support rods.
Manufacturer ratings are normally based on a particular wall, fixing, shelf depth and installation method. A bracket rated for 20kg on a solid masonry wall may be limited to a much lower figure on plasterboard. Ask whether the rating is a total load or a load per bracket, whether it assumes the shelf is 200mm or 300mm deep, and whether the test uses a uniformly distributed load or a weight at the front edge.
After installation, do a cautious check with books or filled boxes rather than hanging your body weight from the shelf. Look for the shelf tipping forward, a gap opening between bracket and wall, screw heads pulling into plasterboard or a cleat moving under the top edge. Remove the load immediately if any of those signs appear. There is no safe reason to “see how much it can take” by adding weight until it fails.
If a shelf is above a bed, cot, desk with expensive equipment or a route where people cannot step away, use a professional fixing review. A concealed support is attractive, but access to the fixing is harder once the shelf is in place, so prevention is much easier than repair.
Spacing and styling without overloading the wall
Styling is safer when the shelf is not treated as storage for everything. Put heavy books close to the supports, distribute weight rather than stacking it at one end, and use shallow objects near an edge. A small plant, artwork and one functional object usually looks better than a continuous line of ornaments.
Floating shelves work well beside decorative wall panelling, but plan the vertical battens and shelf fixings together. Do not fix through a decorative moulding and assume the adhesive behind it is structural.
DIY and professional costs
A basic 600-900mm shelf kit commonly costs £20-£80. A solid-oak shelf with a concealed bracket system is more often £70-£180, and a bespoke long shelf can exceed £250. Allow £5-£20 for appropriate fixings if they are not included. A straightforward DIY installation takes 45-90 minutes once the wall is understood; dot-and-dab, masonry repairs and multiple shelves take longer.
A professional installer may charge £60-£150 for a simple visit, with extra cost for heavy shelves, awkward access, making-good and concealed cable checks. The cost of a correct fixing is small compared with repairing a gouged wall or a broken television.
Floating shelf FAQs
How much weight can a floating shelf hold?
There is no single safe number. The shelf, bracket, fixing and wall must all be rated for the load, and the rating usually falls as the shelf gets deeper or the load moves towards the front edge. Follow the complete system’s published limit.
Can I put a floating shelf on plasterboard?
Yes, if you fix into studs, use a properly rated cavity fixing or reach the masonry behind dot-and-dab board. A generic plastic wall plug is not enough for heavy storage.
How do I find a stud in a UK wall?
Use a stud detector, look for socket and skirting patterns and confirm with a tiny pilot hole in an inconspicuous area. Do not assume a regular spacing where a wall has been altered.
Can I install shelves above a radiator?
Usually, but leave room for warm air to rise and check the shelf material’s temperature guidance. Keep books and delicate objects away from direct heat and do not block a thermostatic radiator valve.
Should a shelf be level with a nearby picture rail?
It can be, but align the visual line with the room rather than forcing a shelf into an awkward height. Mark the full composition with tape first.
What is the best wall fixing for dot-and-dab?
Use a fixing that is specifically rated for the board thickness and the cavity depth, or a long fixing that reaches the masonry. For heavy shelves, a batten or multiple solid fixing points is the more dependable solution.
Final thoughts
A floating shelf succeeds when the hidden work is more careful than the visible styling. Spend time identifying the wall, use the manufacturer’s fixing instructions and test a lightly loaded shelf before trusting it with books or kitchenware. Once the support is right, the clean line is simple; when it is wrong, no amount of styling can hide the movement.

2 thoughts on “How to Install Floating Shelves: A Step-by-Step UK Guide”