
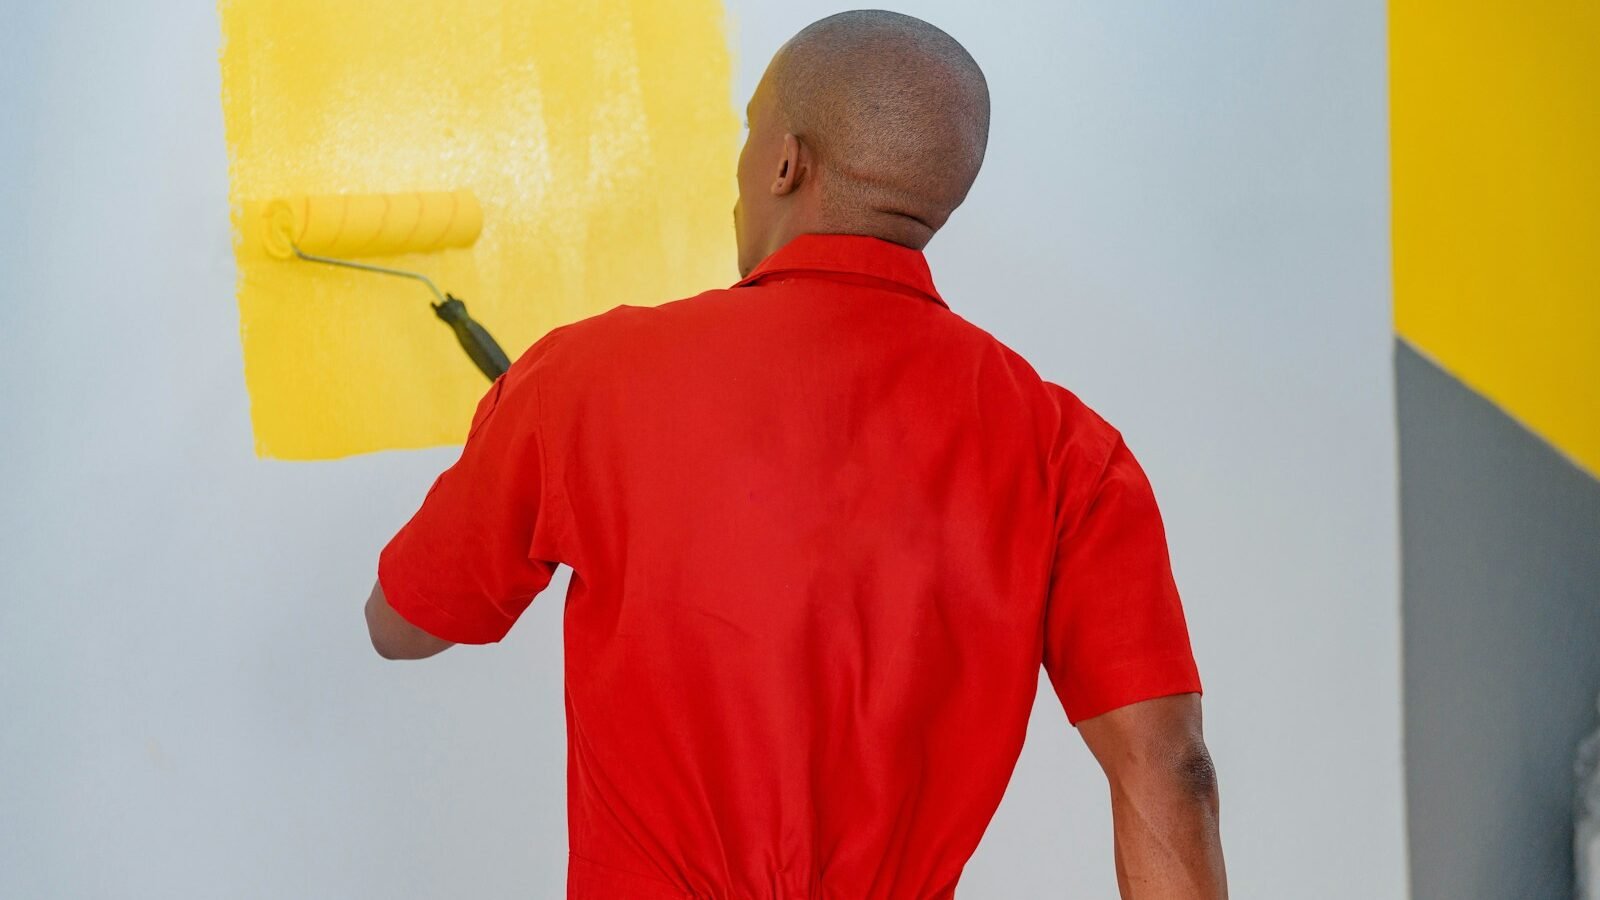
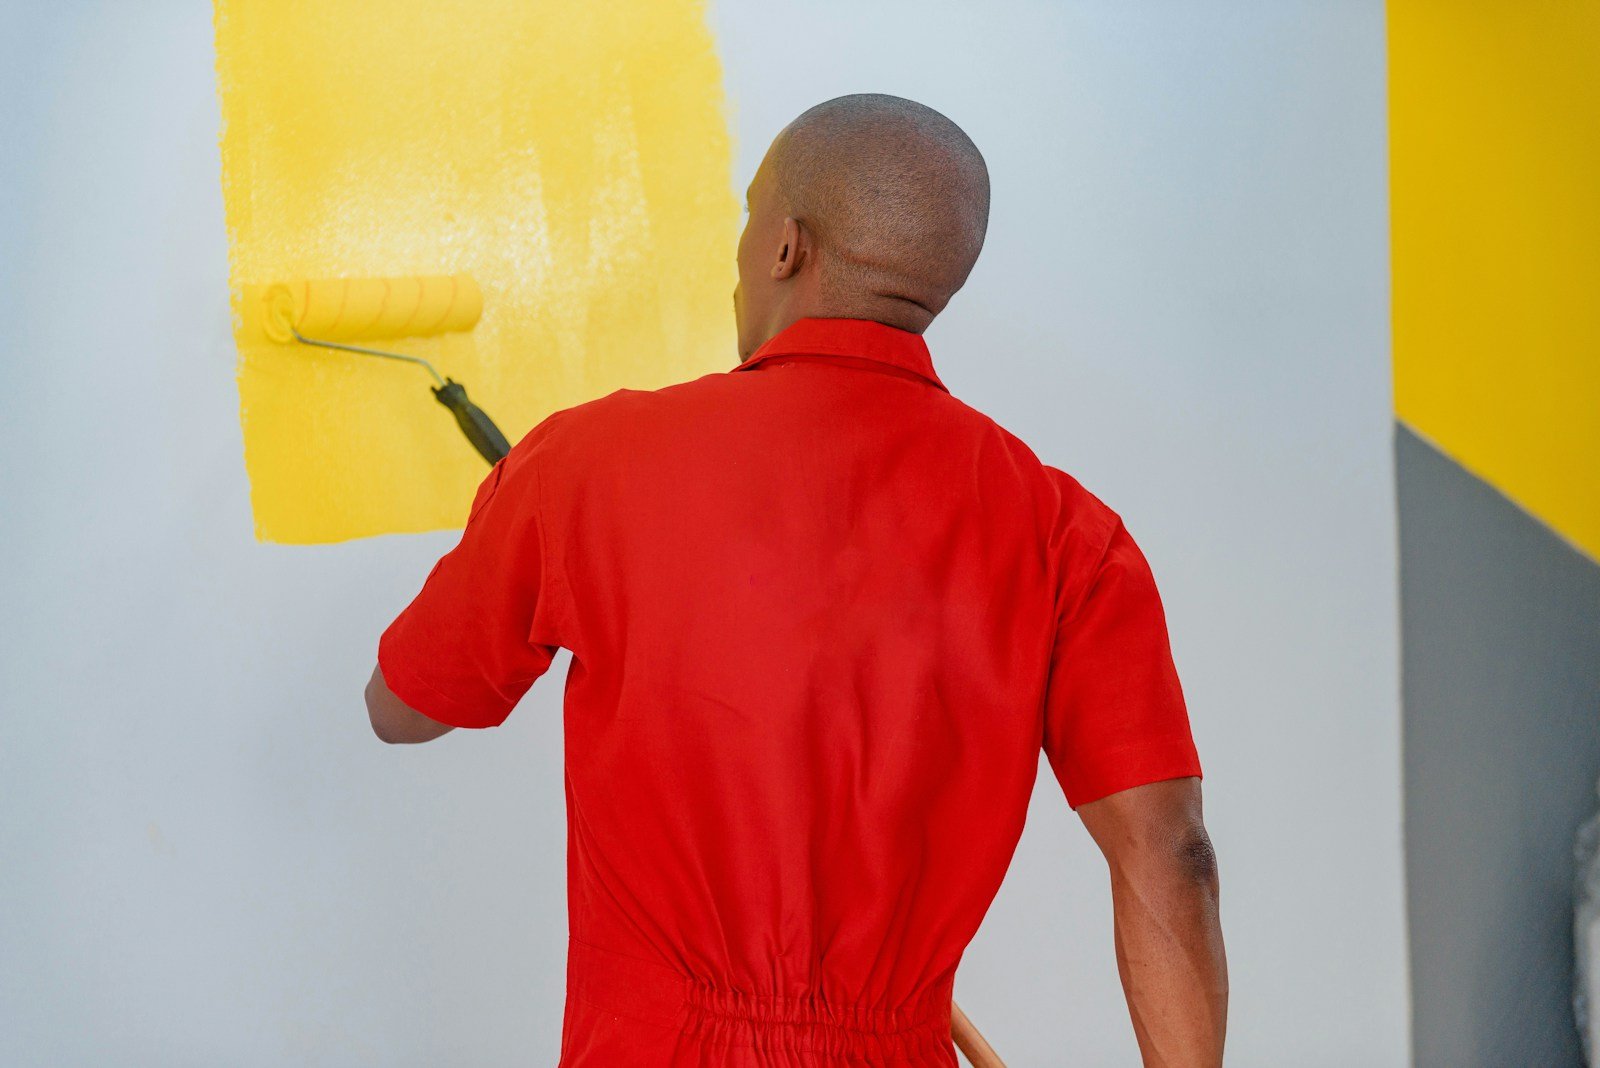
These pro wall painting tips come down to preparation and sequence: repair and clean the surface, seal bare plaster, paint the ceiling and woodwork in the right order, then roll the walls with a wet edge. Use decent tools and stop trying to cover a defect with another coat; the defect will still be there.
Assess the surface
Run a clean hand over the wall and look across it in side light. Identify flaking paint, grease, wallpaper paste, filled holes, glossy patches and bare plaster. If the previous coating is sound, wash and abrade it; if it is loose, remove it. Persistent damp, salt staining or mould needs a moisture solution before decorating.
New plaster must dry properly before painting. A diluted emulsion mist coat is used on suitably dry, absorbent plaster so the finish can key; follow the paint maker’s dilution and substrate instructions rather than inventing a ratio.
Pro wall painting tips: choose the right kit and quantity
- 2-3in angled synthetic brush, £8-£18, for cutting in.
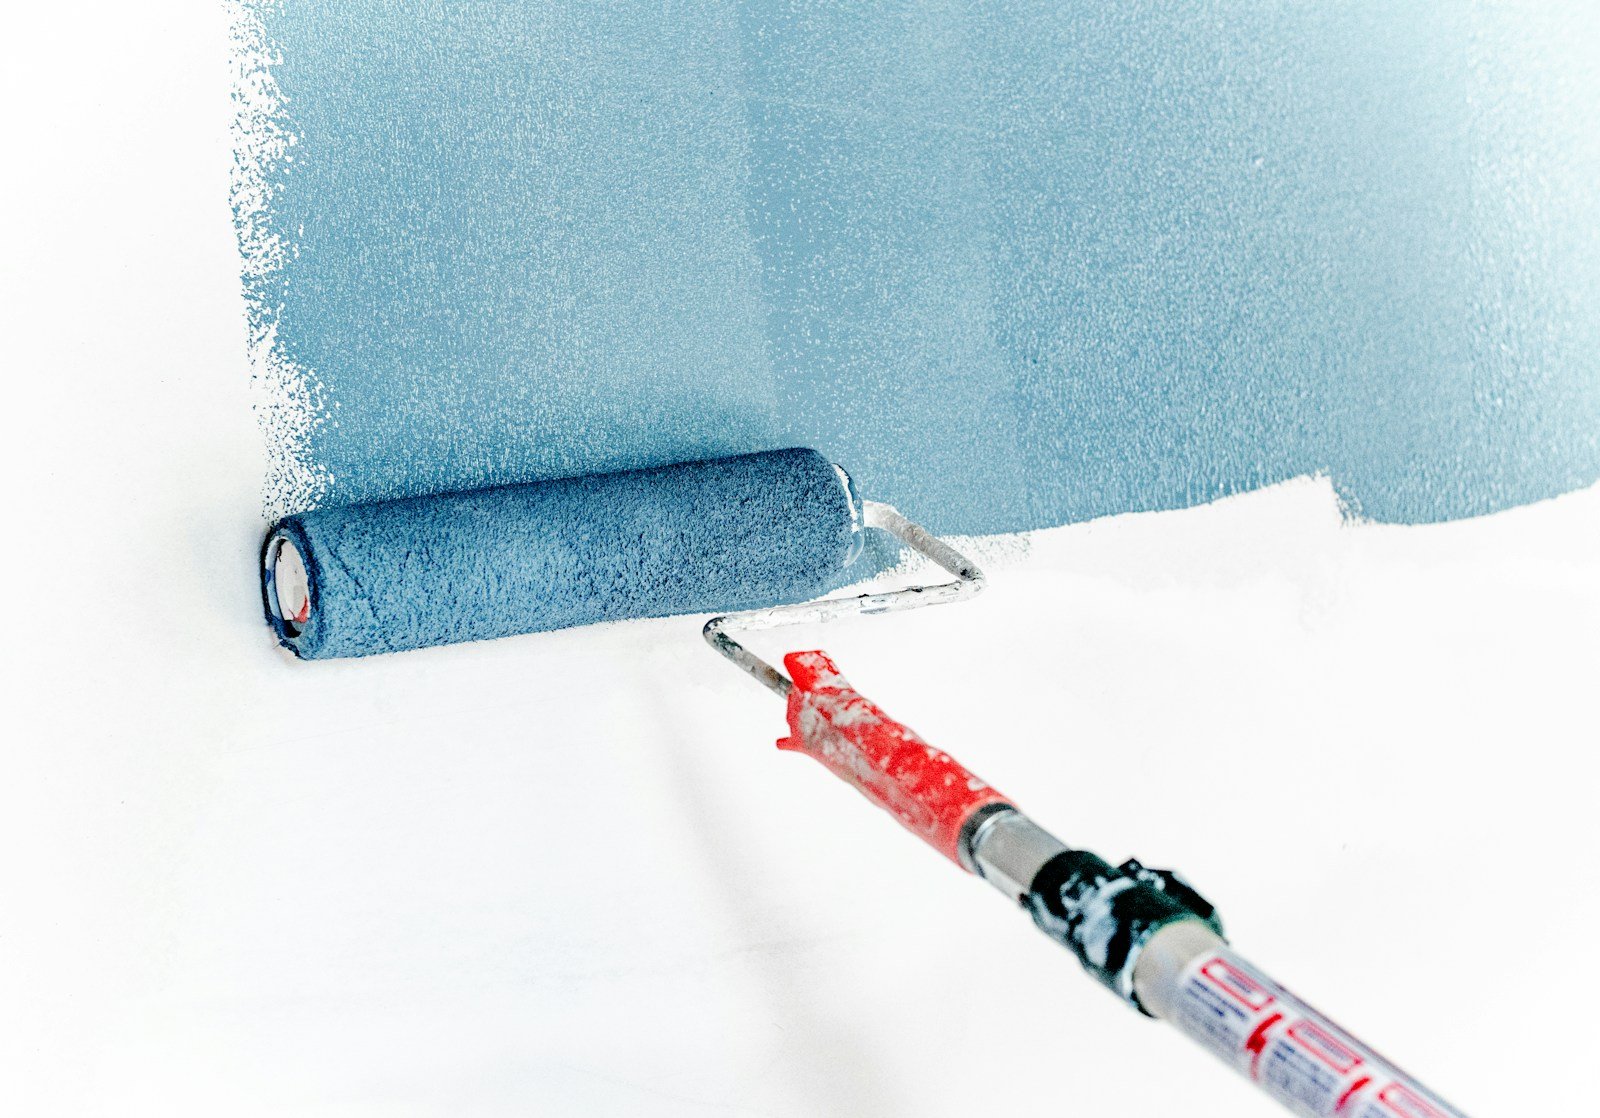
- 9in microfibre roller for smooth walls, or a longer nap for textured surfaces, £8-£18.
- Extension pole, sturdy tray, paint kettle, scraper, filler knife and 120/180 grit paper, £30-£70 together.
- Good low-tack masking tape and dust sheets, £10-£25.
Measure wall area and check the tin’s coverage; allow extra for a porous first coat, texture and colour changes. Box multiple tins by mixing them in one clean bucket, then keep a small labelled amount for touch-ups. A £35-£70 tin of quality trade emulsion may cost less than repeating a failed bargain finish.
Dulux’s preparation and tools advice is a useful manufacturer reference for matching preparation and equipment to the surface.
Prepare without cutting corners
- Remove plates, hooks and loose fittings; label screws in a bag.
- Wash grease and nicotine with sugar soap, then rinse as directed and let dry.
- Fill holes and cracks, allow the filler to dry and sand flush.
- Spot-prime filler, stains and exposed plaster; use the correct stain blocker for water or smoke marks.
- Vacuum edges and wipe dust with a barely damp cloth.
Protect floors with dust sheets, not thin carrier bags. Mask only where it saves time; a good brush and steady hand can be cleaner than leaving tape on for hours. Ventilate, but avoid a strong draught that skins the paint before you can lay it off.
Use the professional painting order
Paint the ceiling first, then walls, then skirting boards, door frames and radiators. Complete one wall while its cut-in remains workable. Remove switch plates rather than painting around them and keep sockets dry; turn off power where a fitting must be removed and call an electrician if you are unsure.
Cut in cleanly
Load the brush to about one-third of its bristle length, tap off excess rather than scraping it on the tin and place the paint 5-10mm from the edge. Push gently towards the line, then feather back into the wall. Work in sections no wider than you can roll while the edge is wet. Two light passes are easier to control than one overloaded line.
Roll for an even finish
Load the sleeve evenly, apply in a loose W or M over roughly one square metre and finish with light, parallel strokes in the same direction. Keep the roller moving and do not press hard when it runs dry. Maintain a wet edge, avoid stopping at the centre of a wall and do not keep touching paint that has started to set.
Let the first coat dry for the full stated time. Low temperature and high humidity extend drying; opening windows helps only if it does not create condensation or a draught. Wash or wrap tools between coats according to the paint type.
Fix common defects
- Lap marks: work smaller sections and keep a wet edge; do not over-roll drying paint.
- Flashing: seal porous filler and use the same finish across the repair.
- Brush marks: use less paint, a better brush and lighter finishing strokes.
- Bleeding stains: remove the moisture source and use a suitable stain-blocking primer.
- Ragged tape lines: score the edge lightly and remove tape while the paint is firm but not fully brittle.
Sand between coats only when the surface needs it, and wear appropriate respiratory protection when creating dust. The HSE COSHH information explains why dust and solvent vapour deserve more respect than a disposable mask suggests. For holes and cracks before painting, see our essential DIY repairs guide.
Frequently asked questions
Q1. Should I paint the ceiling or walls first?
Paint the ceiling first, then walls, then woodwork. That order keeps most drips and cut lines away from finished surfaces.
Q2. Do new plaster walls need a mist coat?
Suitably dry, absorbent new plaster generally needs a sealing coat before finish coats. Use the paint manufacturer’s instructions for dilution and drying rather than a fixed internet recipe.
Q3. Which roller is best for smooth walls?
A good short-to-medium pile microfibre sleeve is usually a strong choice for smooth interior walls. Longer pile is more useful when the surface has texture.
Q4. Why does my second coat show patchy areas?
The first coat may be uneven, the surface may be porous, the paint may not be mixed consistently or the roller may be running dry. Let it dry, spot-prime where needed and apply a full, even coat.
Final Thoughts
Clean lines come from a calm process: prepare the wall, load the tool properly, keep sections wet and let coats dry. Spend the money on surface preparation and a reliable roller before chasing a fashionable paint colour.



7 thoughts on “Pro Wall Painting Tips: A UK DIY Guide to a Clean, Durable Finish”